The Convenience of Meal Prepping
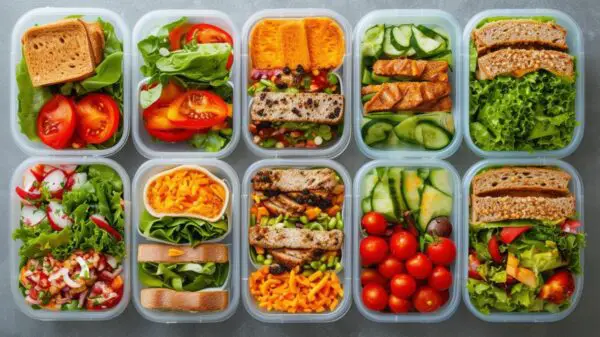
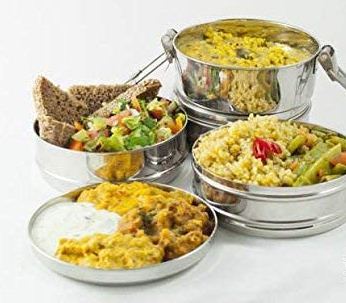
Meal prepping lunches simplifies one’s weekly routine, eliminating the daily hassles of deciding what to eat, reducing prolonged cooking times, and limiting last-minute unhealthy fast food temptations—an all-too-common scenario for anyone managing a packed schedule. By dedicating a few hours over the weekend or at the start of the week to prepare nutritious meals, you avoid the stress of daily preparation and instead enjoy extra minutes savoring morning coffee or concluding a yoga session.
Harnessing the power of meal prepping significantly lowers grocery bills—a sigh of relief for wallets everywhere! As opposed to buying single meal ingredients daily or inflating expenses at eateries, buying in bulk offers a beacon of economy. Armed with a comprehensive shopping list that complements the meals planned ensures each purchased ingredient promises utility preventing wastage.
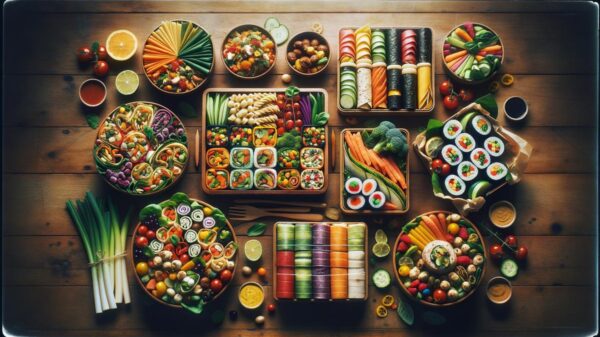
The diverse array that meal prepping incorporates—from slow-cooked stews that meld flavors over hours to vibrant salads dashed with piquant dressings—ensures that your palate never experiences a dull moment. This versatility thwarts any leanings toward the oft-tempting, rarely satisfying call of junk food. Each meal bursts with tailored flavors to gratify your gustatory expectations versed in both nutrition and mouth-watering goodness.
Essential Ingredients for Versatile Lunches
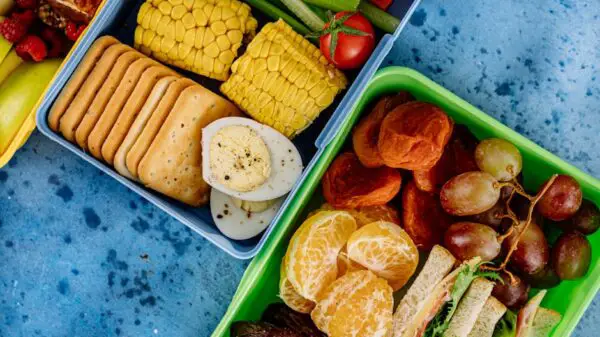
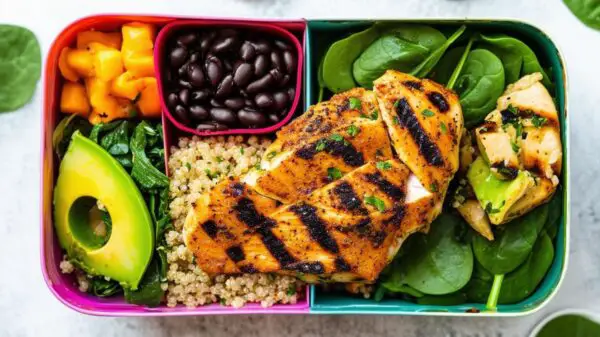
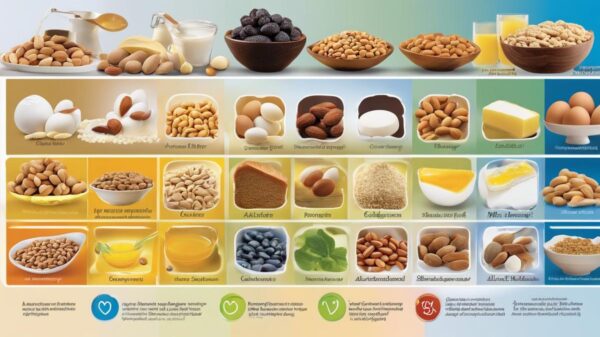
Diving into the pantry essentials for versatile lunches underscores the necessity of having proteins, grains, and vegetables as foundational components. Chicken and tofu, ranking as top favorites, offer flexibility and versatility, perfectly suiting various culinary styles and dietary needs.
Quinoa and rice stand out as champion grains. Their roles extend beyond mere side dishes, contributing significantly as bases for well-rounded, satisfying meals. Quinoa, particularly high in protein and pleasing in texture, pairs excellently with a myriad of seasonings. Meanwhile, rice, whether brown or white, provides a comforting staple that complements both mild and intense flavors.
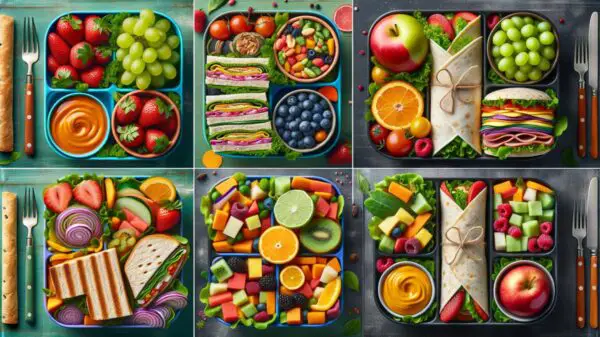
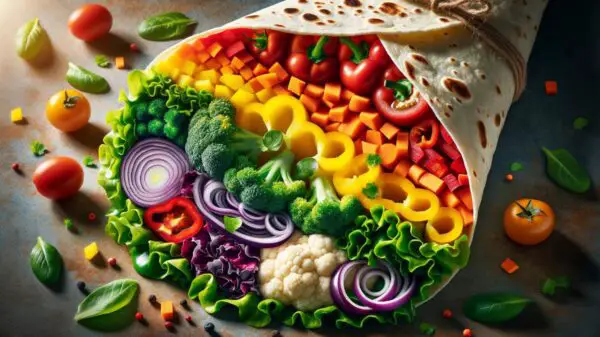
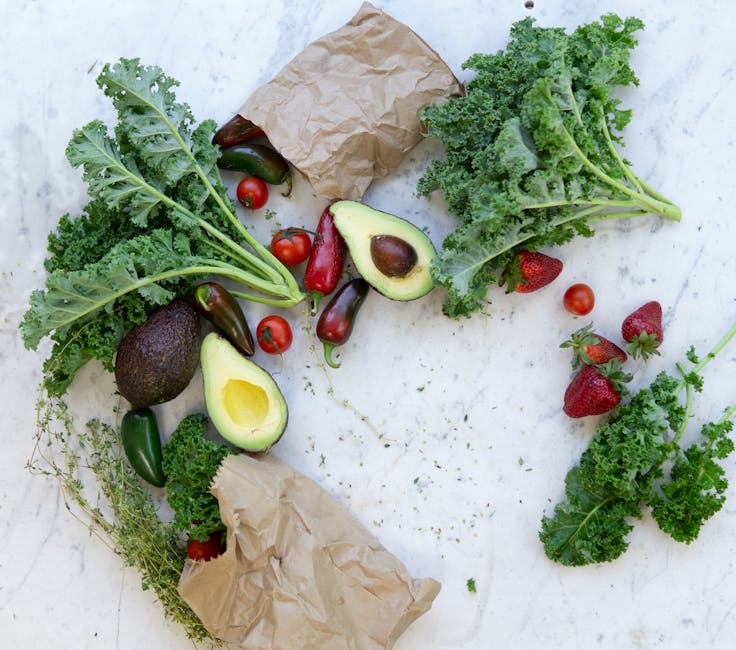
Vegetables act as the vibrant piece of the lunch puzzle. To cover an ample spectrum of tastes and health benefits, maintaining a variety—from leafy greens like spinach and kale, to crunchier options such as carrots and bell peppers, and finally, to staples like onions and tomatoes—ensures every meal feels fresh and exciting. Adding avocados for their healthy fats can elevate basic dishes to satiating meals.
This well-stocked pantry empowers you to craft numerous combinations, each balanced and satisfying. Busy week ahead? No problem. Your essential ingredients await your creative touch, prepared to be transformed into a sequence of charming and nourishing lunches.
Meal Prep Techniques and Storage Tips
Preparing the perfect meal-prepped lunch necessitates attention to correct culinary techniques and detailed storage strategies to ensure freshness and safety throughout the week.
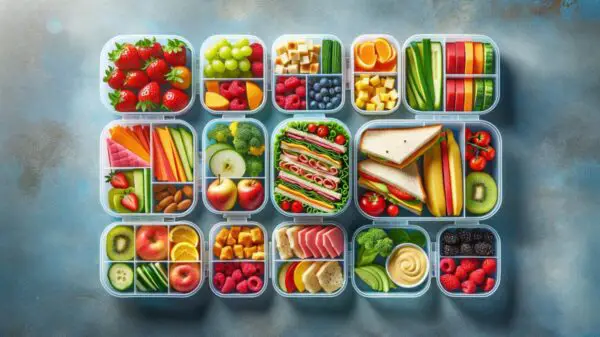
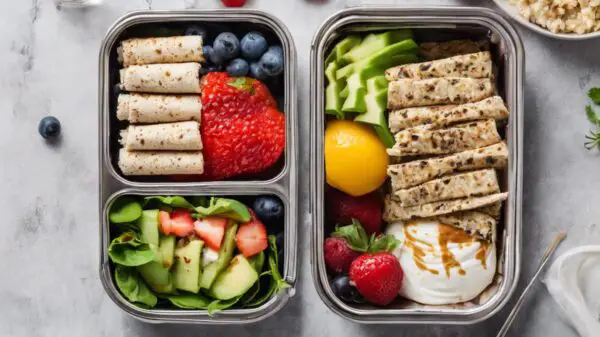
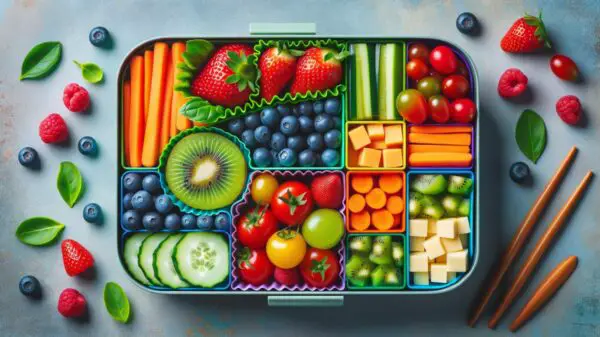
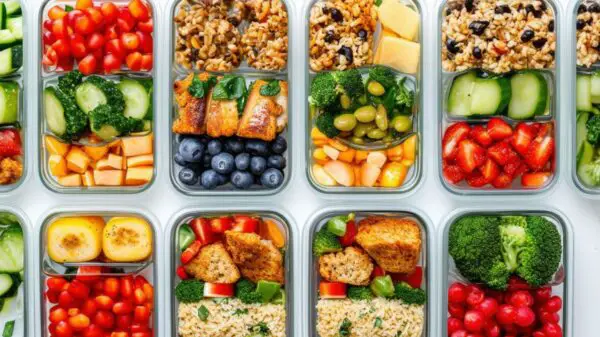
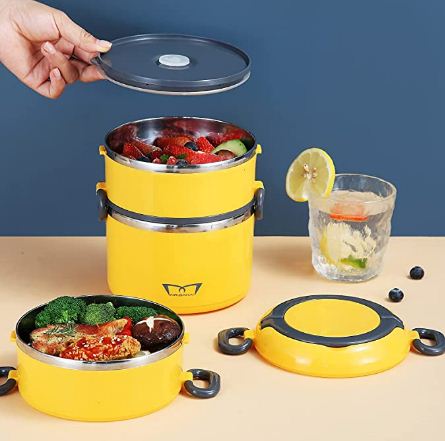
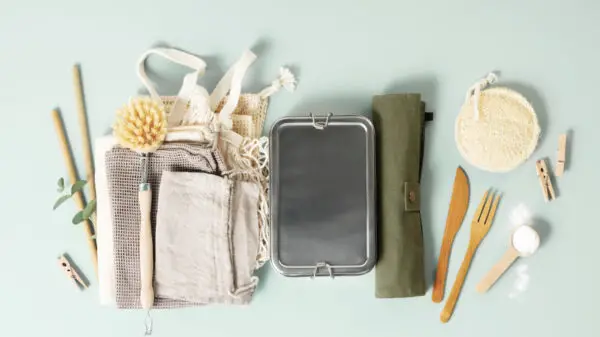
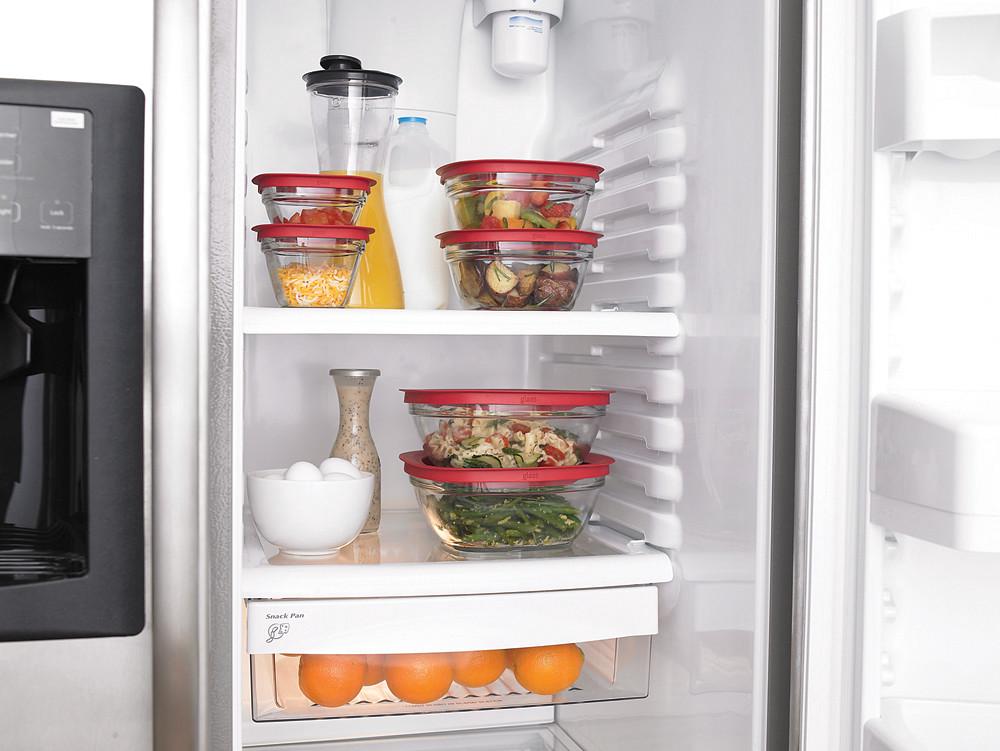
High-quality, airtight containers are crucial for locking in freshness and preventing cross-contamination. Glass containers are a stellar choice, being microwave-safe and devoid of chemicals that can leach into food, unlike some plastic options. For salads or meals incorporating more liquid components, containers with compartments help keep ingredients separate and textures intact.
Cooling cooked food promptly before refrigeration is vital. Foods should not linger at room temperature longer than two hours to mitigate the growth of harmful bacteria. Spread food out on shallow plates or trays to allow quick cooling before transferring to containers.
Most prepared foods, when properly refrigerated, remain edible and tasty for up to four to five days. Store items intended to be eaten beyond this timeframe in the freezer immediately after prepping. Soups, stews, and cooked grains freeze exceptionally well.
Consider the arrangement of items within the refrigerator. The top shelve usually maintains a consistent temperature and is apt for storing ready-to-eat items like salads and snacks, whereas heavier prepared dishes can reside on the bottom shelve. Keeping uncooked ingredients below cooked meals prevents accidental raw leakage from contaminating prepared foods.
Strong-smelling ingredients such as chopped onions or spiced meats should be tightly sealed to avoid neighboring meals absorbing unintended aromas.
By seamlessly combining these comprehensive meal prep techniques with precise storage methods, you ensure that every carefully prepared lunch remains as appetizing and wholesome as intended.
Garlic Parmesan Kale Pasta Meal Prep
Ingredients:
- 2 boneless, skinless chicken breasts
- Salt and pepper, to taste
- 2 tablespoons olive oil
- 1 bunch kale, stems removed and leaves chopped
- 8 ounces pasta (any preferred variety)
- 4 cloves garlic, minced
- ½ cup Parmesan cheese, grated
- 1 pint cherry tomatoes, halved
- ½ teaspoon red pepper flakes (optional)
- Fresh parsley, chopped for garnishing
Instructions:
- Season the chicken breasts with salt and pepper on both sides.
- Heat 1 tablespoon of olive oil in a large skillet over medium heat. Add the chicken breasts and cook for 5-6 minutes on each side, or until fully cooked and golden brown. Transfer to a plate and let rest.
- Bring a large pot of salted water to boil and cook the pasta according to package instructions until al dente. Drain and set aside.
- In the same skillet used for chicken, add the remaining tablespoon of olive oil and sauté the garlic until fragrant, about 1 minute. Add the chopped kale and cook until it begins to wilt, about 3-4 minutes.
- Add the halved cherry tomatoes to the skillet and cook for an additional 2 minutes until the tomatoes are just beginning to soften.
- Slice the rested chicken into strips.
- Toss the cooked pasta in the skillet with the sautéed kale, tomatoes, and chicken. Stir well to combine.
- Sprinkle the Parmesan cheese and red pepper flakes over the pasta and stir until thoroughly mixed and the cheese has melted slightly.
- Taste and adjust seasoning with additional salt and pepper if necessary.
- Serve the Garlic Parmesan Kale Pasta garnished with fresh parsley.
Storage:
Divide the pasta into individual servings and place in airtight containers. Store in the refrigerator for up to 4 days. Reheat in the microwave when ready to serve, ensuring the chicken is heated through to a safe temperature.
Nutritional information (per serving):
Calories: 425
Fat: 15g
Carbohydrates: 45g
Protein: 30g
Fiber: 4g
Sodium: 320mg
Herby Chicken Meatball Bowl
Ingredients:
- 1 lb ground chicken
- 1/4 cup breadcrumbs
- 1/4 cup freshly chopped herbs (such as parsley, basil, and thyme)
- 1 large egg
- Salt and pepper to taste
- 2 medium sweet potatoes, peeled and cubed
- 1 can chickpeas, drained and rinsed
- 2 tablespoons olive oil
- 1 teaspoon paprika
Dressing:
- 1/4 cup olive oil
- 2 tablespoons lemon juice
- 1 teaspoon Dijon mustard
- 1 garlic clove, minced
- Salt and pepper to taste
Instructions:
- Preheat your oven to 375°F (190°C).
- In a large bowl, combine ground chicken, breadcrumbs, chopped herbs, egg, salt, and pepper. Mix well until all ingredients are fully incorporated.
- Form the mixture into small meatballs, about the size of a golf ball.
- Place the meatballs on a baking sheet lined with parchment paper.
- In another bowl, toss the cubed sweet potatoes and chickpeas with olive oil, paprika, salt, and pepper. Spread them out on a separate baking sheet.
- Place both baking sheets in the oven. Bake the meatballs for 20-25 minutes and the sweet potato and chickpea mixture for 30 minutes, or until the meatballs are cooked through and the vegetables are tender and golden.
- While the ingredients are baking, whisk together the olive oil, lemon juice, Dijon mustard, minced garlic, salt, and pepper to create the dressing.
- Once baked, let the meatballs, sweet potatoes, and chickpeas cool slightly.
- To assemble the bowls, place a portion of sweet potatoes and chickpeas at the base. Add a few chicken meatballs on top.
- Drizzle the prepared dressing over each bowl before serving.
Nutritional information (per serving):
Calories: 480
Fat: 28g
Carbohydrates: 30g
Protein: 32g
Fiber: 7g
Sodium: 450mg
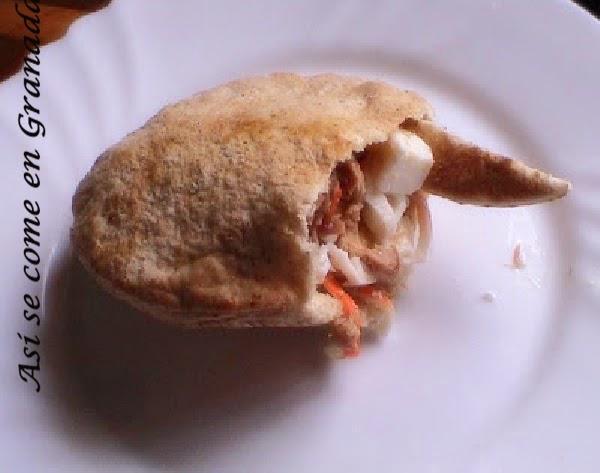
Greek Chicken Stuffed Pitas
Ingredients:
- Marinated chicken breasts
- Pita bread
- Fresh vegetables such as tomatoes, cucumbers, and red onions
- Tzatziki sauce
- Optional: feta cheese, olives, lettuce
Instructions:
- Grill the marinated chicken breasts until fully cooked and slightly charred on the outside. Allow them to rest for a few minutes before slicing them into strips.
- Warm the pita bread in a dry skillet or in the oven to make it pliable.
- Cut the fresh vegetables into thin slices or small chunks.
- Open the pita bread halfway to create a pocket.
- Layer chicken strips inside the pita pocket.
- Add slices of tomato, cucumber, and red onion over the chicken.
- Spoon a generous amount of Tzatziki sauce over the vegetables.
- If desired, add feta cheese and olives for extra flavor and textures.
- Optionally, include some lettuce for additional crunch and freshness.
Storage:
- Keep leftover ingredients separate and store them in airtight containers in the refrigerator. Marinated chicken can be stored for up to three days, while fresh vegetables should be consumed within two days for optimal freshness.
- Keep the Tzatziki sauce in a sealed container in the fridge and use within three days.
- Store pita bread in a cool, dry place and consume within a few days, or wrap tightly and freeze for longer storage.
Nutritional information (per serving):
Calories: 350
Fat: 12g
Carbohydrates: 35g
Protein: 25g
Fiber: 5g
Sodium: 600mg
- Wolfram T. Healthy Eating Plate & Healthy Eating Pyramid. The Nutrition Source. Harvard T.H. Chan School of Public Health. Published September 18, 2012. Updated August 25, 2020.
- Academy of Nutrition and Dietetics. Back to Basics for Healthy Weight Loss. EatRight. Published January 3, 2019.
- U.S. Department of Agriculture. Freezing and Food Safety. Food Safety and Inspection Service. Published June 15, 2013. Updated September 28, 2015.

